Set up your workspace
In short. Sign up with a work email, confirm it, and your workspace is created with the five roles and the default lead statuses already in place. Then spend five minutes in Settings → General so invoices, time zones and currencies come out right.
Who it is for. The first person in your company to sign up, who becomes the workspace owner and first admin.
Create the account
Section titled “Create the account”- Go to the sign-up page and fill in Organization name, First name, Last name, Work email and Password (8 to 72 characters).
- Check your inbox for the verification link. It expires in 24 hours; the page offers to resend after a minute.
- Open the link and click Verify email & continue. The workspace, your admin account, the built-in roles and the default lead statuses are created at that moment, and you land on Leads.
Free mailboxes such as Gmail, Outlook.com, Yahoo and iCloud are not accepted for sign-up. Use the address at your company’s domain.
Set the basics
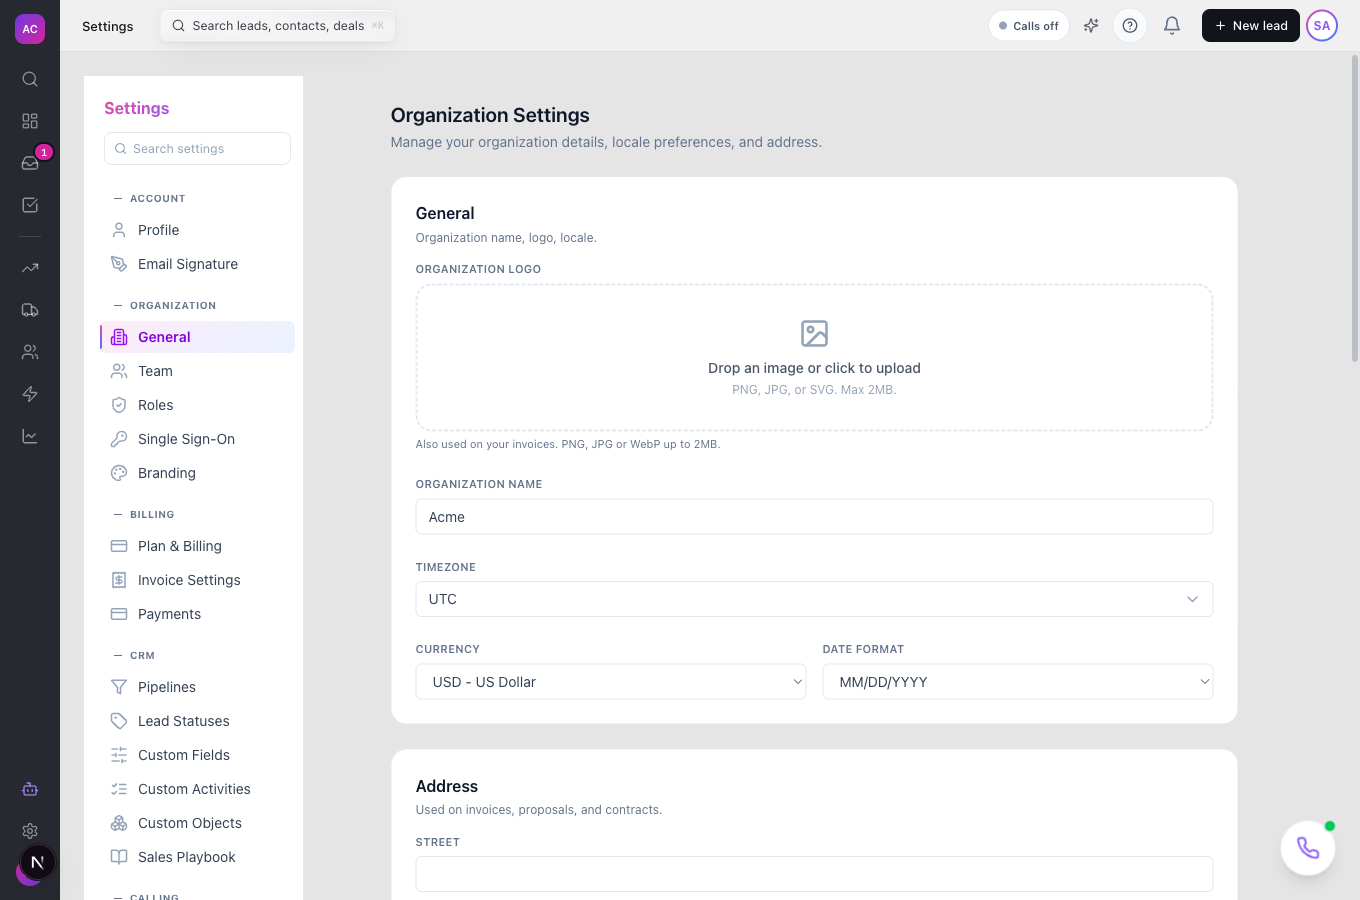
Section titled “Set the basics”- Open Settings → General.
- Under General, upload an Organization logo (PNG, JPG or WebP up to 2 MB; it also prints on invoices), confirm the Organization name, and set Timezone, Currency (USD, EUR, GBP, INR, AUD or CAD) and Date format.
- Under Address, enter the company address and tax ID. These appear on invoices, proposals and contracts.
- Click Save Changes.
Decide three automations
Section titled “Decide three automations”Further down the same page, the Automation section has three switches, all off by default:
- Auto-create invoice when proposals or estimates are accepted
- Auto-draft the contract when a proposal is accepted
- Auto-create the delivery project when a contract is signed
Turn on the ones that match how you work. You can change them later.
Brand it
Section titled “Brand it”Open Settings → Branding to set the company logo and favicon, primary and secondary colours, a font and a tagline. The Preview shows how client-facing documents and the portal will look. Click Save Branding.
Take the tour
Section titled “Take the tour”The first time you open the Dashboard, a one-minute tour points out the navigation rail, Inbox, search (⌘K) and Copilot (⌘I). Restart it any time from the ? button in the header.
What comes next
Section titled “What comes next”- Invite your team and give each person a role.
- Connect email and calendar so conversations land on leads.
- Import leads from a spreadsheet.
- Make your first call or send your first email.
Troubleshooting
Section titled “Troubleshooting”The verification link says it is invalid. It was used already or is older than 24 hours. Start again from the sign-up page.
“This email is already registered”. Someone at your company created a workspace with it. Ask them to invite you instead.
I picked a plan on the pricing page; where is it? Sign-up records the plan you chose, but billing is set up afterwards under Settings → Billing. New workspaces start on the entry plan until then.