Your first call and first email
In short. Open a lead that has a contact with a phone number, click Call, allow the microphone, and talk. When you hang up, log the outcome. For email, connect your mailbox once, then click Email on the lead.
Who it is for. Every rep, on day one.
Before the first call
Section titled “Before the first call”- Calling is included on Essentials, Growth and Scale. On the entry plan, Settings → Calling shows “Calling isn’t included in your current plan”.
- Your workspace needs a phone number under Settings → Calling → Phone Numbers. If the list is empty, ask your admin; numbers are provisioned by the platform. To call out from a number you already own, an admin can click + Add External Number and verify it with the code from the verification call.
- Use a headset. The browser will ask for microphone access the first time.
Make the call
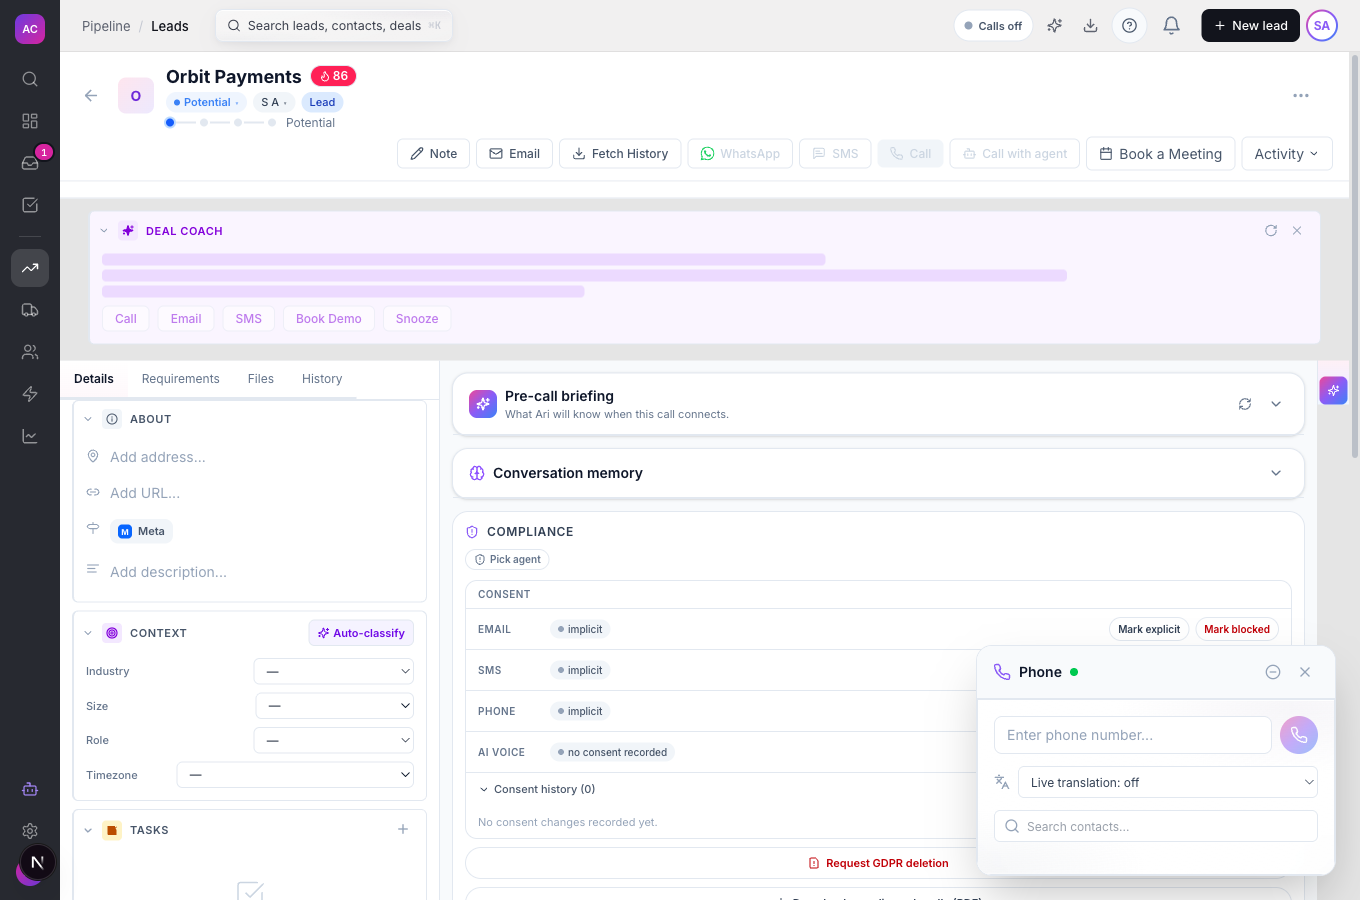
Section titled “Make the call”- Open a lead, for example Orbit Payments, whose contact has a phone number. If the Call button is greyed, add a contact with a phone first.
- Click Call. The Phone panel opens with the number filled in. Click dial.
- Allow the microphone when the browser asks. You hear Ringing…, then the call.
- If it is outside 8:00 to 21:00 where the contact is, the app asks for a reason before dialling and records it.
- During the call use Mute, Hold, Transfer call or Drop voicemail as needed.
- Hang up. The Call Disposition dialog opens: pick the outcome, add notes, tick Create follow-up task if you promised something, and Save Disposition. The call, its recording and your notes are now on the lead’s timeline.
Send the email
Section titled “Send the email”- Connect your mailbox once: Settings → Messaging → Email → Connect Gmail or Connect Outlook (see Connect email and calendar).
- Open the lead and click Email. The composer opens with the contact in To and your signature at the bottom.
- Pick the From account if you have more than one, write a subject and the message, and click Send or press ⌘↵.
- The email appears on the timeline. When the person replies, the reply lands there too and in your Inbox.
Want it to go out at a better time? Open More send options and choose a preset or Schedule for later….
Troubleshooting
Section titled “Troubleshooting”“Microphone permission denied”. Click the lock icon in the address bar, allow the microphone, and dial again.
“No microphone detected on this device”. Plug in a headset or enable the built-in mic in your system settings.
“Calling not configured”. The workspace has no voice provider yet. Tell your admin.
The Email button is greyed. The lead has no contact with an email address.
My email bounced. Check the address on the contact. Bounced addresses are blocked from future sends until corrected.